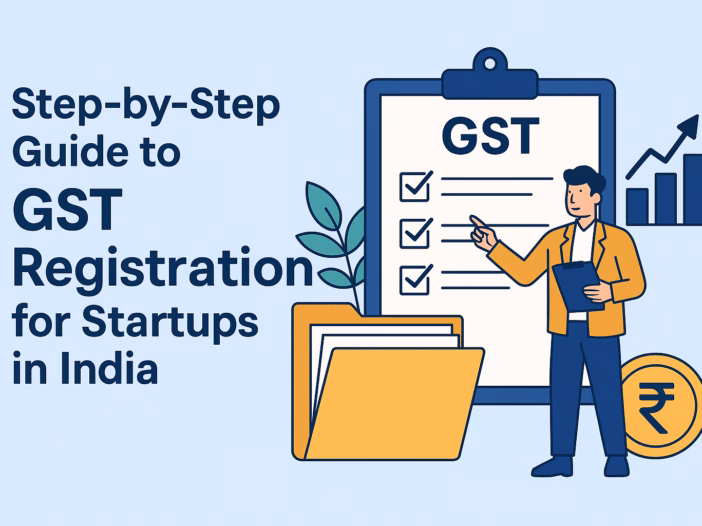
In recent years, India has witnessed a surge in entrepreneurial ventures, with startups emerging across various sectors. One crucial compliance requirement for such businesses is Goods and Services Tax (GST) registration. Understanding the GST framework and completing the registration process correctly is vital to avoid penalties and operate legally. This article provides a Step-by-Step GST Registration guide for Startups in India.
-
What is GST and Why is it Important for Startups?
Goods and Services Tax (GST) is a unified indirect tax applicable across India on the supply of goods and services. Introduced in July 2017, GST replaced in multiple indirect taxes like VAT, service tax and excise duty.
Importance of GST Registration:
- Legal recognition are supplier of goods or services.
- Eligibility to collect tax from customers and pass on input tax credit.
- Mandatory for inter-state supply of goods/services, online sellers, and businesses with turnover above threshold limits.
- Enhances business credibility and simplifies compliance.
-
Who Needs to Register for GST?
Startups must register under GST if:
- Turnover exceeds ₹40 lakh (₹20 lakh special for category states).
- Engaged in inter-state supply.
- Operate e-commerce platforms.
- Supply online information or database access.
- Voluntarily opting for registration (recommended for claiming Input Tax Credit).
-
Documents Required for GST Registration
Here’s a checklist of documents typically required:
For Proprietorship:
- PAN Card and Aadhaar of proprietor
- Photograph of proprietor
- Business address proof (electricity bill/rent agreement/NOC)
- Bank details (statement/cancelled cheque)
For Partnership/LLP:
- PAN cards of firm and partners
- Partnership deed or incorporation certificate
- Photos and ID proofs of partners
- Address proof and bank details
For Private Limited Company:
- PAN of company and directors
- Certificate of Incorporation
- MOA and AOA
- Resolution for authorized signatory
- Director’s ID proof, address proof, and photograph
- Business address and bank details
-
Step-by-Step Procedure for GST Registration
Follow these steps on the GST portal (www.gst.gov.in):
Step 1: Go to the GST Portal
- Visit www.gst.gov.in
- Click on “Register Now” under the ‘Taxpayers’ section.
Step 2: Fill Part A Form GST REG-01
- Enter PAN, mobile number, email ID, and state.
- OTP verification will be done.
- You’ll receive a Temporary Reference Number (TRN).
Step 3: Fill Part B Form GST REG-01
- Login with TRN and complete the application.
- Upload necessary documents.
- Submit application using DSC or Aadhaar-based verification.
Step 4: Verification and ARN Generation
- After submission, Application Reference Number (ARN) is generated.
- You can track the status using this ARN.
Step 5: GST Certificate Issuance
- If documents in a systematic order, the officer will approve and issue GSTIN number.
- GST registration certificate (Form GST REG-06) is available on the portal.
-
Post-Registration Compliance
After receiving GSTIN, the startup must:
- Display GSTIN on invoices and at the place of business.
- File monthly/quarterly GST returns (GSTR-1, GSTR-3B, etc.).
- Maintain proper books of accounts.
- Issue proper tax invoices.
- Reconcile input tax credit claims.
-
Common Mistakes to Avoid
- Uploading incorrect or incomplete documents.
- Choosing the wrong type of taxpayer (regular vs. composition).
- Not updating bank or address details.
- Missing post-registration compliance like returns filing.
-
Conclusion
For a startup in India, GST registration is not just a legal formality but a stepping stone towards build a effective business. The process has been digitized for ease but must be approached diligently. If need a consult tax professional ensure a hassle-free experience.